
15 years ago, during the height of my RSI issues, I discovered a keyboard that changed my life: The Kinesis Advantage
My work bought me an original Kinesis Advantage with Cherry MX brown switches. After leaving the company, I have since bought the following:
- Kinesis Advantage LF (with Cherry MX Red)
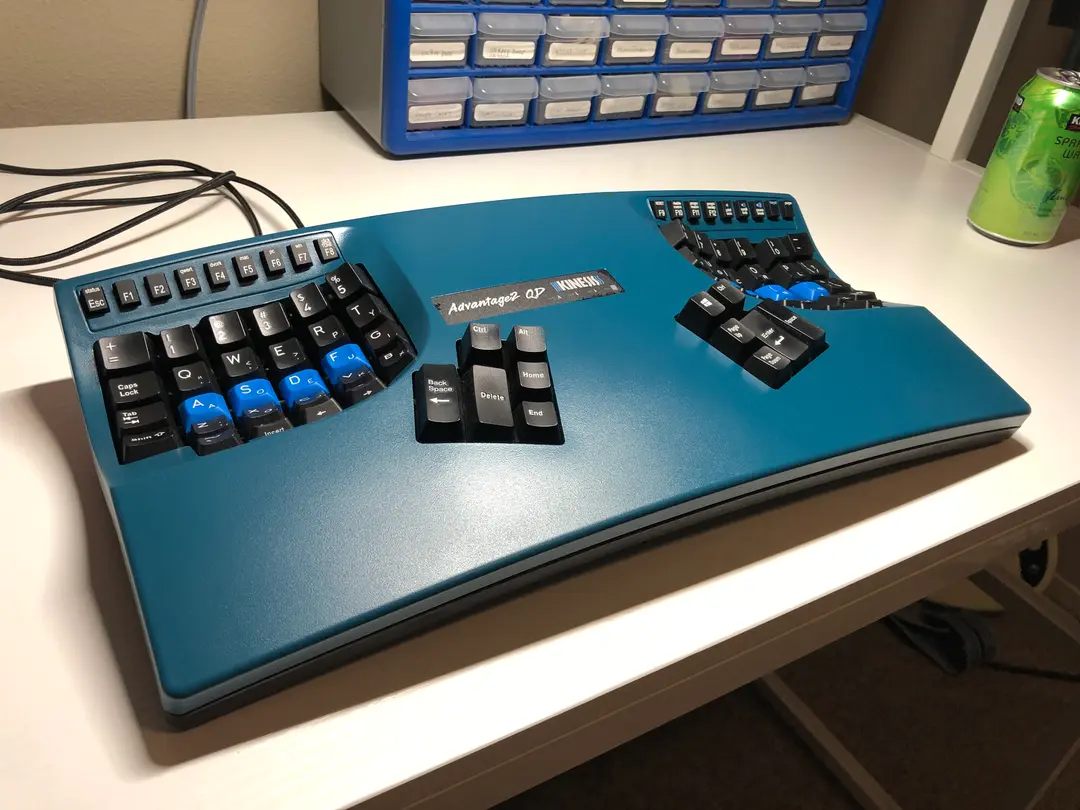
- Kinesis Advantage2 QD (with Cherry MX Brown)
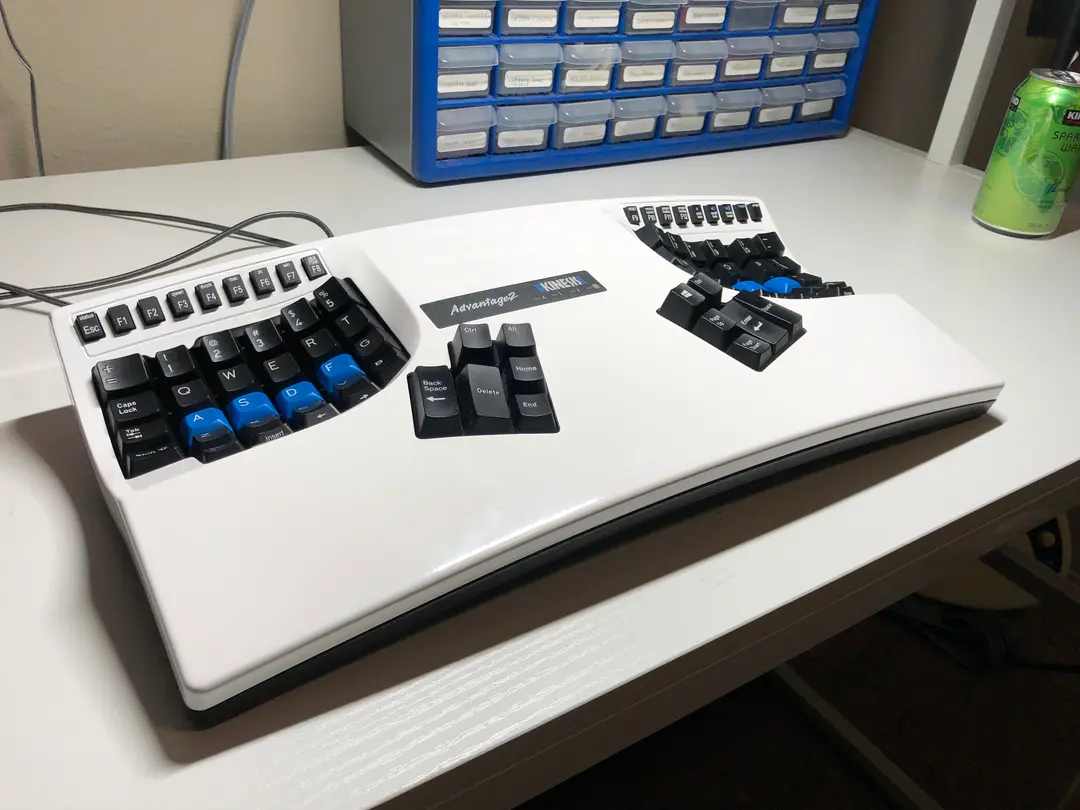
- Kinesis Advantage2 Signature Series (white, with Cherry MX Silent Red)
I use the original Advantage at work and use the Advantage2’s at home. Lately, I discovered QMK, and after testing some features on a different keyboard, I realized how useful the homerow mods, layers, and autoshift features are. Additionally, although Kinesis products are generally high quality, when they fail, it is often the controller board. The biggest issue I have had was with double presses, which is corrected by default in QMK firmware.
As a result, I ended up going on a quest to convert all 3 of my keyboards to QMK.
Of course I had already heard of the famous Stapelberg mod and his second version KinT Controller. I was excited that he had the KiCAD files ready to order from JLCPCB, so I bought an order of 10 PCB’s. It was only after I started sourcing the parts that I realized how expensive the Teensies were. I then read about the Blackpill version and realized I should have ordered those.
I decided I’ll go ahead and build one with a proper Teensy, so I built a Teensy 4.1 version and it worked great. I then looked for an RP2040-based board that can fit into the same PCB with some modifications. Unfortunately, the standard RP2040 Pico is too wide to fit. But luckily Aliexpress has something called the RP2040 Pro Micro, which is shaped like a standard Pro Micro board, but is based on the RP2040 and has several extra GPIO pins and USB-C. This would fit the Teensy-based PCB, and after studying the schematic, I realized I just needed ten wires to get it to work. And it has enough pins for all the rows and columns, plus the 4 LED’s. It even has a pin to spare.
The details of this project, including the QMK source files can be found here.
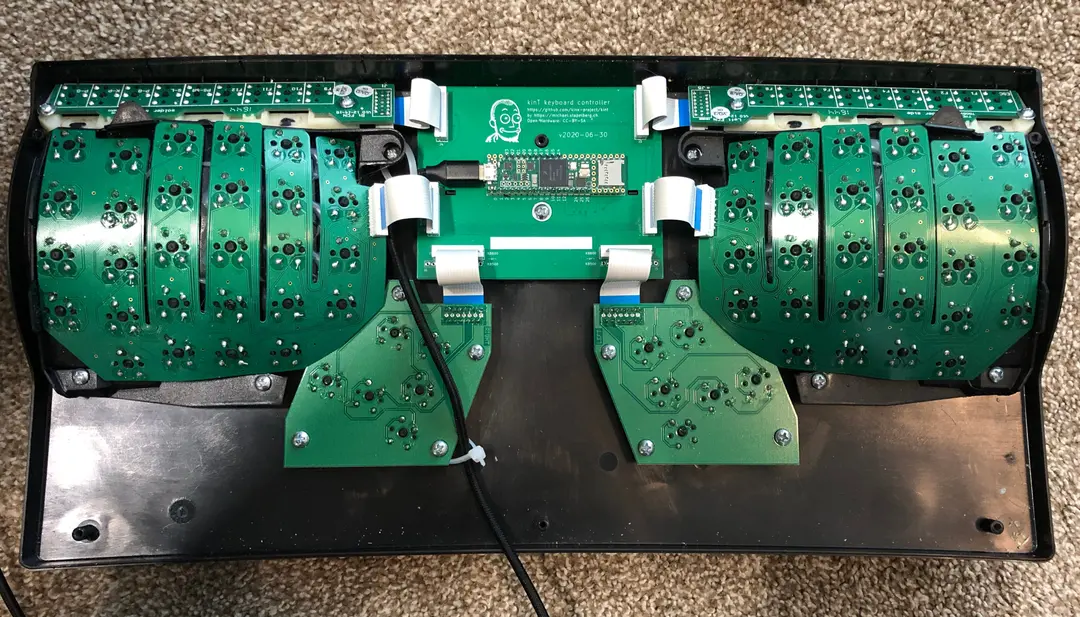
Advantage2 QD with the Teensy 4.1:
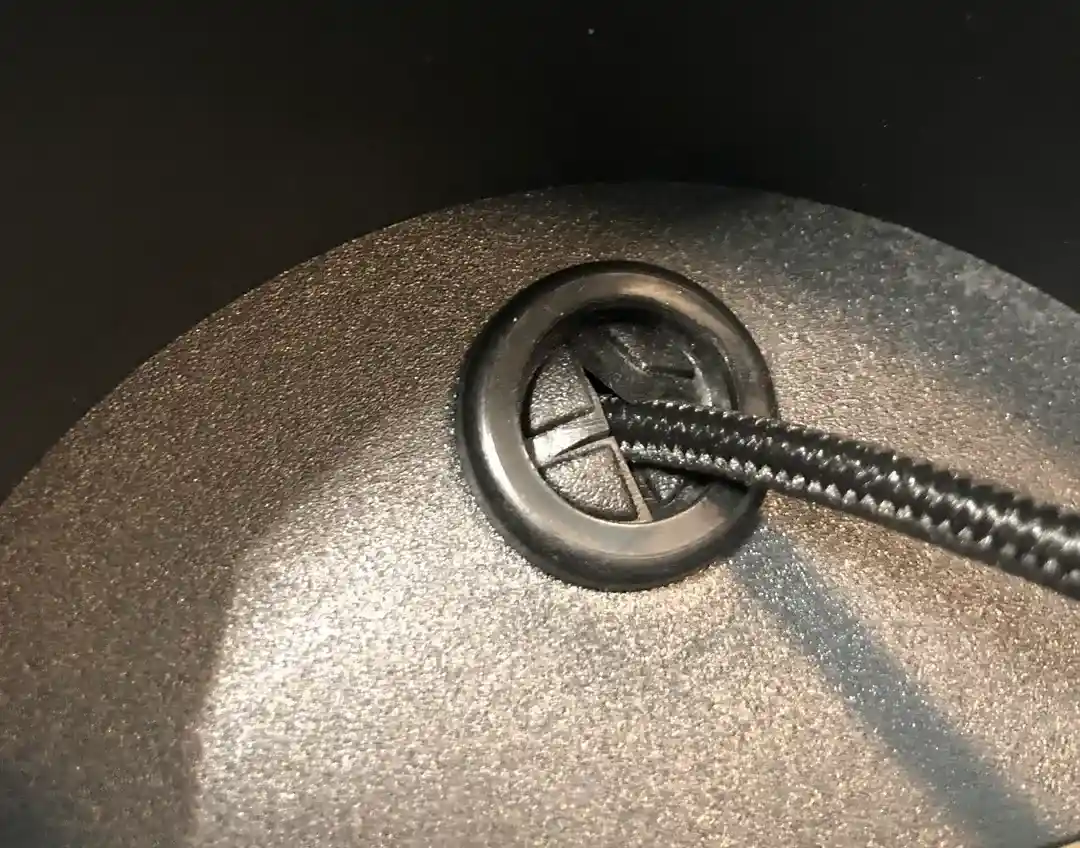
For the cable, I removed the existing cable and just put a regular USB Micro cable through the hole. I found a nice rubber grommet to fill in the hole:

And here it is installed:
RP2040 Modded Versions
After building this one, I really wanted to upgrade my other two Kinesis keyboards, but did not want to pay over $30 per Teensy. Luckily, I was able to find the above-mentioned RP2040 board for $3 each and did some rewiring and wrote my own RP2040 QMK files and got it to work. Again, check out the Github Repo for details.
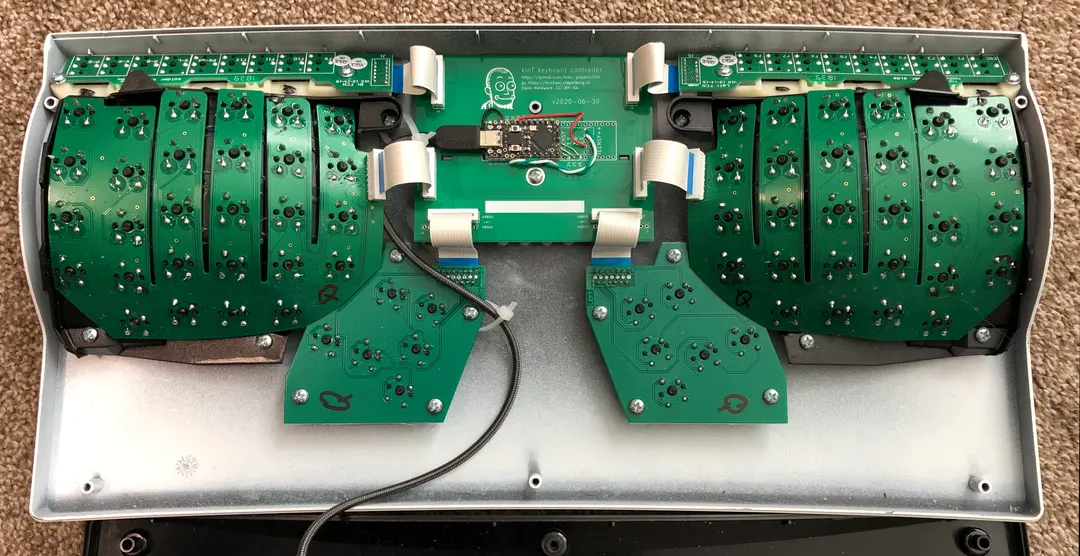
Here is what the board looks like after the wiring:

And here it is installed in my Advantage2 Signature Series:
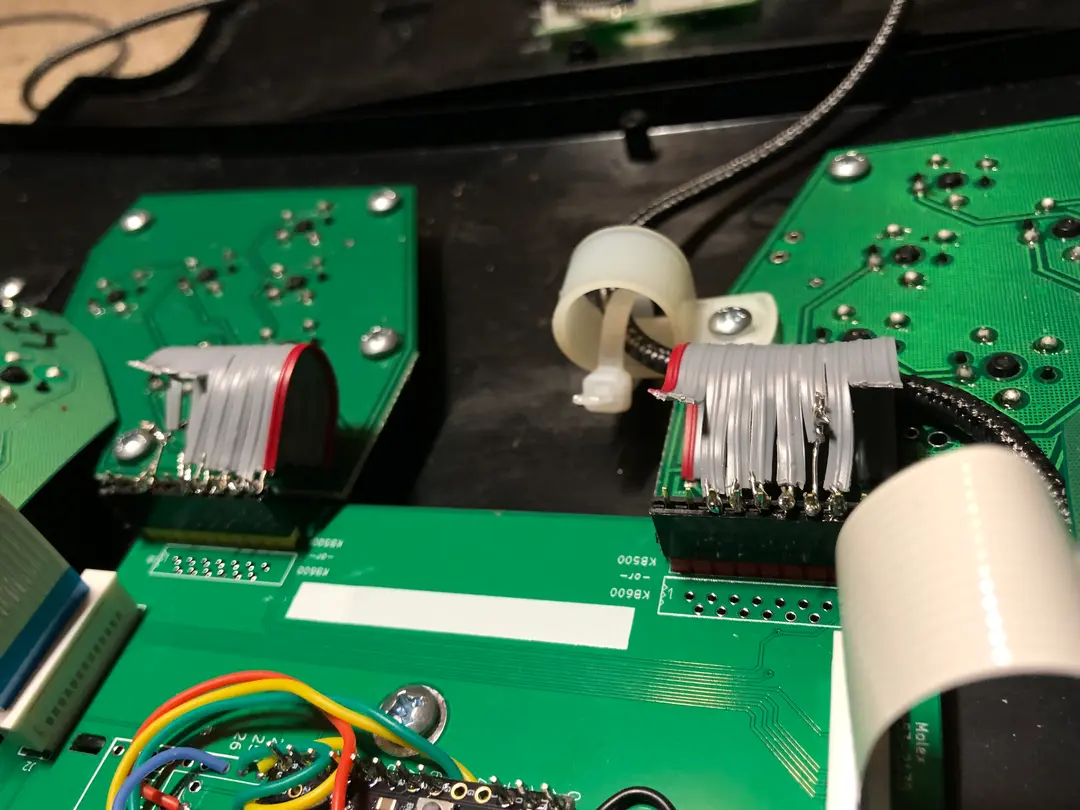
For the original Advantage1, I did the same thing but had to solder some headers to the ribbon cables for the thumb clusters. And I got a bit impatient and messier with this one:

And my handiwork with the thumb clusters. Not every lead is used, as you can see. I also messed up stripping some of these wires and had to extend them:
My Collection
![]()
And to finish my modding, I decided to try my hand at refinishing one of them. I decided to refinish the Advantage2 QD. After some research, I went with Krylon Fusion paint as it is supposed to stick to plastic very well. I chose the satin finish this time, and it came out very well, similar in texture to the original plastic finish. I plan to try a gloss one next time.
Original Advantage (now with RP2040):

Advantage2 QD (now with Teensy 4.1) painted in Peacock Blue:
Advantage2 Signature Series (now with RP2040):
The QMK files are available in the main QMK repo for the Teensy and in my above-mentioned repo for the RP2040. The below code is all included in the repo, but here are a few key notes.
This version has a nice feature of using the Keypad LED for the Keypad LED, so it mimics the original Kinesis function.
Here is the kintrp.c file code that does this:
#include "quantum.h"

#define LED_LAYER GP12

void keyboard_pre_init_user(void) {
setPinOutput(LED_LAYER);
}
layer_state_t layer_state_set_user(layer_state_t state) {
    if(IS_LAYER_ON_STATE(state, 1)) {
        writePinLow(LED_LAYER);
    }
    else {
        writePinHigh(LED_LAYER);
    }
return state;
}
No conversions are necessary when compiling the firmware, since GPIO pins have been directly converted. As such, the configuration uses the generic RP2040 bootloader and definitions in info.json:
{
  "processor": "RP2040",
  "bootloader": "rp2040",
  "board": "GENERIC_RP_RP2040",
}