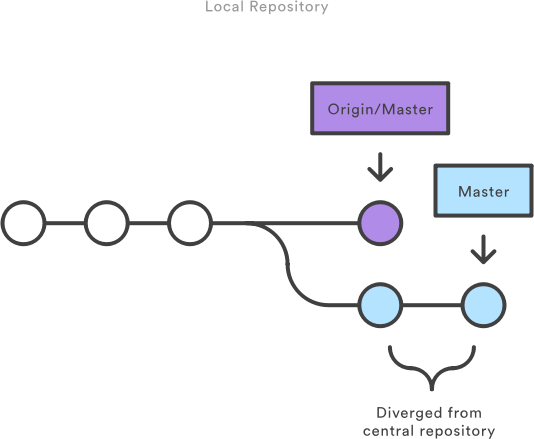
Here’s a super concise workflow for contributing to an existing Github project. In this guide, you will learn how to fork a project, branch a new feature or big fix, and contribute to the original project.
Initial Steps: Fork, Clone, and Add Upstream
Head over to the Github page you want to contribute to and click the “Fork” button. Copy the url to your forked repository and then from the command line:
git clone https://github.com/<username>/<forked_repo>.gitTrack the original upstream repository, by adding a remote and then verifying:
git remote add upstream https://github.com/<original_repo>.git
git remote -v
Stay in Sync with Upstream
If you just did the above steps, you can create a branch and start working. Otherwise, it is a good idea to make sure you are up-to-date with the upstream repo’s latest commits.
Fetch upstream and view all branches
git fetch upstream
git branch -va
You then want to checkout your master branch and merge it with the upstream repo:
git checkout master
git merge upstream/master
You should not have any unique commits on the local master branch (since in this guide, we are doing commits against a separate branch). So Git should perform a fast-forward and bring your local master branch up-to-date.
Branch and Start Working
Before creating a branch, it is always nice to make sure you are branching from your local master. So first run:git branch, to see if you are on the master branch, and if not: git checkout master
Now create a new branch and check it out:
git branch newfeature
git checkout newfeature
Now you can make changes using the normal Git workflow with git add and git commit
Refetch, Merge, Rebase, and Squash
If this is a quick change, you can get away without doing this. But it is nice to ensure your local master branch is up-to-date with the upstream repo. As before:
git fetch upstream
git checkout master
git merge upstream/master
This brings your local master up-to-date with the upstream repo. And if any new commits were made upstream, you can now rebase them. This means the upstream repo’s commits will be applied first, with your newfeature branch’s commits re-played after the aforementioned upstream commits. This will make your eventual pull request much easier for the developer to review and merge. Here are the commands:
git checkout newfeature
git rebase master
It is also a good idea to squash your smaller commits into a larger one:
git rebase -iThis will bring up an editor where you can squash your commits. If you had 3 commits, you might see something like this:
pick 01d1124 Commit Msg 1
pick 6340aaa Commit Msg 2
pick ebfd367 Commit Msg 3
If you want to squash these commits into a single one, you might do something like this:
pick 01d1124 Commit Msg 1
squash 6340aaa Commit Msg 2
squash ebfd367 Commit Msg 3
… which will lead you to another editor where you can edit the commit message to something that describes all the changes made. A good commit message should have a title/subject in imperative mood starting with a capital letter and no trailing period.
Push, Pull, and Delete
Now push your changes to your repository:
git push origin new-featureYou can then go to your forked repository on Github, find your branch and make a pull request. You can review the changes before you submit it. If the upstream repo’s owner approves and merges it, Github will prompt you to delete your branch, which is safe to do now. Remember your forked master is now out-of-date and requires a fetch, checkout, and merge (see earlier step), which updates your local repository. Then do another push to update your remote forked repository.